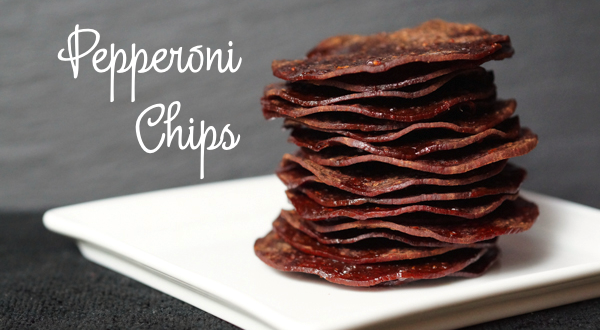
The kids big and small love these bites of flavor. Use them as chips for dips, with a slice of cheese or on their own to satisfy your salty pleasure.

While I have seen several recipes floating around I would rather not use a microwave. So I did a little experimenting at low and higher temperatures. I used a plain baking sheet – what a mess. One with a Silpat liner – that was easier but you have to turn them over. So I came to the conclusion that unless you have a convection oven the best way is to bake them on a cooling rack over your baking sheet to catch the rendered oil. That way they cook and crisp up on both sides at the same time. Effortless.

Once they are cooked and cooled, I store half of them in 2 snack packs. One goes into the refrigerator so that they store longer and are easy to grab for grandkids lunches. The other bag is left out to gobble up in a few days.
- 6 oz Sliced Pepperoni (3 inches in diameter)
- Preheat the oven to 400 degrees.
- Place the cookie cooling rack over the top of your baking sheet. It can hang over the edge if needed. Lay the pepperoni slices so that they touch each other on the rack. As they cook they will get smaller. So again don’t worry if the edge of the pepperoni looks like it is past the edge of the baking sheet. It is still on the cooling rack and will shrink.
- Place pan in the preheated oven and bake for 8-10 minutes. Every oven is different so check them and see if they need a little more crisping or not. You do not want them over done.
- Let them cool and then place them in an airtight container.
NUTRITIONAL DATA:
Calories 133 |Fat 12g |Carbs 1g |Protein 6g

 Diabetic Kitchen


How long will the pepperoni chips last if put in the pantry in a airtight containers? I’ve already made some of this and they are a great alternative to potato chips if you’re on a low carb diet.
If they’re not consumed in a few days they need to go into the fridge. Hope that helps 🙂